Home
dermatologia pisa cura

Dermatologia

La dermatologia è la scienza che studia la pelle, le mucose e gli annessi (capelli ed unghie). Leggi oltre
medicina estetica pisa botulino acido ialuronico

Medicina Estetica

Le metodiche più innovative per la bellezza, dal botulino all'Acido ialuronico, dal needling alla terapia fotodinamica... Leggi oltre...
dermatologia medicina estetica pisa

Il Dottor Giovanni Menchini

Laureato in Medicina presso l'Università di Pisa e specializzato in Dermatologia all'Università di Siena, ha frequentato l'Università di Firenze ed altri centri dermatologici di eccellenza Leggi il Curriculum

vitiligine cura

Vitiligine la mia cura

La vitiligine ha più possibilità di cura. Da quindici anni studio e curo la vitiligine, innovando questo campo e utilizzando le più avanzate ricerche a livello mondiale.

La visita per la vitiligine deve essere approfondita attraverso mezzi che consentano una visione ad alta risoluzione della cute affetta, per comprendere il miglior mezzo di cura.


La terapia che ne deriva è un protocollo terapeutico personalizzato per ogni singolo individuo, basato sulla attività della malattia, utilizzabile sia dai bambini che dagli adulti.


Continua la lettura...

CSS Tableless Overrides

This template comes with CSS tabless overrides for the main Joomla content, overriding the default table layout. This makes your content much more accessible to search engines.

I like what I see! I want to JOIN TODAY.

Google Fonts Enabled

Do you want your own custom font? Not a problem, this template comes with Google Fonts enabled, allowing you to pick from over a dozen font families for your website. In the template parameters area of the template you can choose your own custom font, and preview it from the Vertex interface. Below are some examples of the fonts available.


I like what I see! I want to JOIN TODAY.

Template Specific Options

This template is built on the very powerful S5 Vertex Framework, which comes packed with amazing features! Learn More About Vertex...

Every template built on Vertex also comes with it's own unique template specific options applicable to that particular template such as highlight colors, social icons, and much more. These features are in addition to the standard functions of Vertex, and are still controlled through the very user friendly interface of Vertex. This page will document the features specific to this template.


Template Specific Configuration Interface of Vertex


Below is a screenshot that shows all the template specific features available in the user friendly Vertex admin:


Custom Highlight Colors


Need your own custom color scheme? Not a problem, this template comes with ultimate color control! With four highlight colors of your choice you can set titles, hyperlinks, buttons, backgrounds, and much more to any color you wish! This color can easily be set in the template configuration area. Below are some examples of custom color schemes created through the highlight color options. Below are some screenshots of this effect. This effect can be applied to both the light and dark styles.


Note - You can turn the highlight color off on the module titles, to use just one single color. By default they are two-tone.


Social Icons


Easily link to a social media site with the built in social icons found in the header of this template. Simply enter the url of your social site in the configuration and the icon will automatically appear. To disable an icon simply leave the url blank for that particular icon. Turn today's date on or off as well with a simple switch in the configuration as well.


Uppercase Letters


As you can see from this demo there are a lot of uppercase letters used in articles, modules, titles, etc. If you don't want to use uppercase letters simply turn them off in the configuration.


Small Menu


On this demo you can subtext on the first level parent items. If you choose not to use subtext on these links simply choose a small menu option and the menu will automatically down size.


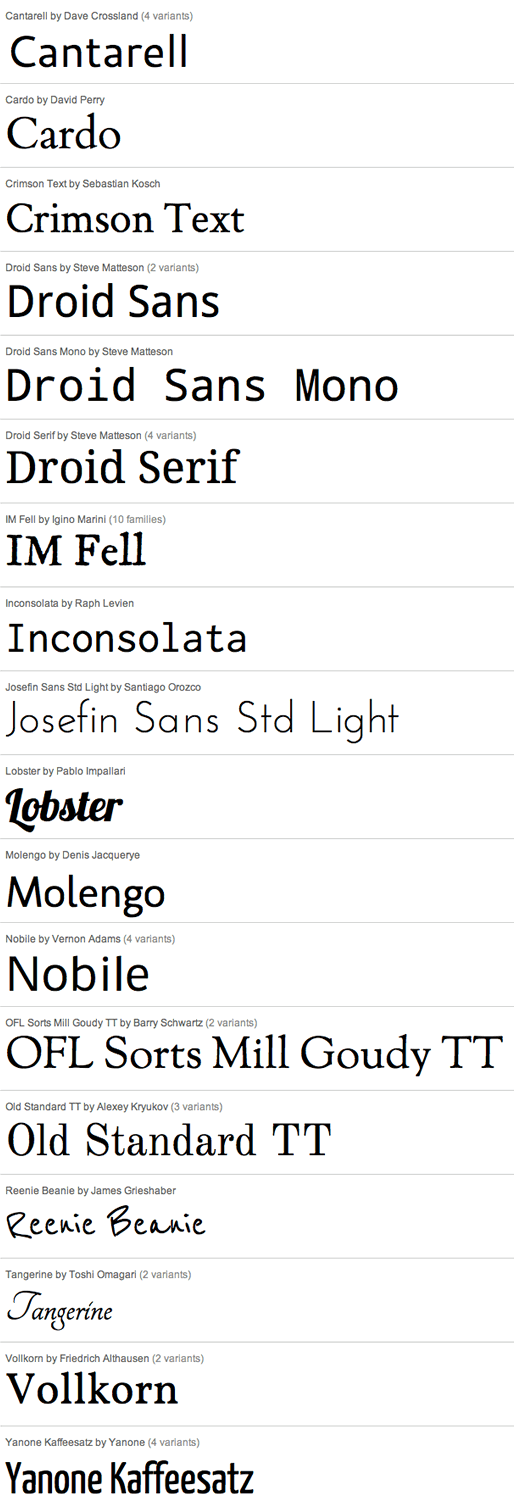
Custom Highlight Font


Choose a custom highlight font powered by Google fonts. This font controls most titles, menu items, and several links on the site. You can also change the default font under the General tab of Vertex.


Multibox


Features:

  • Supports a range of multimedia formats: images, flash, video, mp3s, html!
  • Auto detects formats or you can specify the format
  • Html descriptions
  • Enable/Disable page overlay when multibox pops up (via template parameters)
  • Enable/Disable controls (via template parameters)

  • Images Example

    Image #1. It can support html.
      
    Image #2. It can support html.
      
    Image #3. It can support html.

    Separeate Group Images Example

    Image #1. It can support html.
      
    Image #2. It can support html.
      
    Image #3. It can support html.

    Video Example:

    Youtube.com Video - CLICK ME
    UP: Carl and Ellie


    You can use the following video formats: flv, mov, wmv, real and swf. Just insert the URL to the videos in the href of the hyperlink, here is an example of how we did this for a Youtube video:

    YouTube Tutorial: Simply right click on a youtube video and copy the embed code, then paste into a text editor and look for the embed src and use that URL in your hyperlink.

    MP3 Example:

    MP3 example - CLICK ME
    mp3 example


    iFrame:

    iFrame/HTML Example - CLICK ME
    getfirebug.com


    I like what I see! I want to JOIN TODAY.

Search Engine Optimized


SEO - Get your site noticed!


Not only is this template beautifully designed but it is great for search engine optimization as well! What is SEO? It is simple the act of altering a web site so that it does well in the organic, crawler-based listings of search engines such as google.com. How does this template accomplish this? It's simple, the majority of your most valuable content is found in the main body of your site, through css we are able to alter the layout of the site and call the main content before the left and right columns are called. This allows for your content to be found first by search engines before it reaches your other content, which is vital in search engine optimization. This is a common feature this can be done with almost all of Shape 5 templates as well.


I like what I see! I want to JOIN TODAY.

Login and Register Setup

The S5 Box can be demo'd by clicking on either the Login or Register buttons found towards the top of this page.

The module allows for up to 10 different S5 Box's on one page all via 10 module positions. You simply add a class to any HTML element on your site and enable the corresponding box and you are good to go!

To enable the login and register modules:

1. Install the S5 Box module and publish it to all pages on your site. Try to publish it to a position where a module already exists on all pages, but don't worry it won't change the layout of your site, the script is automatically hidden on your site.

2. Install and publish the S5 Register module to the 'register' module position

3. Publish the default Joomla login module to the 'login' module position.

4. In your template parameters area of Joomla you can change the text for login, register and logout.

5. That's it, you're all done!


If you do not wish to use the S5 Box but would still like to use the Login and Register links then simply complete step 4 above and also fill out your own custom urls just below those fields in the template configuration. Filling out the custom url fields will disable the S5 Box.

The S5 Box runs off of the jQuery Javascript library in a no conflictions mode so you should not receive any problems with other third party extensions you may be running on your site. Alternatively you can also the core Joomla mootools script.

Features:

  • Powered by no conflict mode jQuery Javascript or mootools
  • Choose, elastic, fade or none for the popup effect
  • Up to 10 S5 Box's throughout your site or on any one page!
  • Set the percentage of width of each box according to overall screen size


Tutorial on how to get the s5 box working and use all 10 module positions it includes


1. Adding the S5 Box positions:

  • Open up the templateDetails.xml file included with the template you are using.
  • Locate the positions area.
  • Start adding new positions s5_box1, s5_box2, s5_box3, etc all the way up to s5_box10.

2. Adding the S5 Box classes:

  • The S5 Box class name of the corresponding position must be added to the link that will open the box. For example the following code will display a link that says Click Here and will open the S5 Box and display whatever module is published to the s5_box3 module position:


  • These classes can be added to any element, ie: divs, spans, etc., but the common use will be to add this into content with a link similar to the one shown in the picture above. To enter this link you must do so from the HTML edit screen on your content editor:

    Once you have clicked the HTML button the HTML code window will appear much like the first image.
  • You can continue adding these classes throughout your site just be sure to have published a module to the corresponding position or the box will not work correctly. So if you add the class s5box_two you will also have to publish a module to the s5_box2 position.
  • Module positions and their corresponding classes:

    s5_box1 = s5box_one
    s5_box2 = s5box_two
    s5_box3 = s5box_three
    s5_box4 = s5box_four
    s5_box5 = s5box_five
    s5_box6 = s5box_six
    s5_box7 = s5box_seven
    s5_box8 = s5box_eight
    s5_box9 = s5box_nine
    s5_box10 = s5box_ten

3. Lastly, publish your modules to the S5 Box positions:

  • Now that you have added the s5 box positions just go to your site modules area and publish modules to those positions
  • Make sure that you have added a class to an HTML element as described above or the s5 box will have no activation button
  • Also make sure to publish the actual s5 box to a non s5 box position, perhaps publish it to the "debug" position or a similar one in your template.


Main S5 Box Module Settings:

  • In the backend of the S5 Box module you can adjust the width of each box independent of each other.
  • Make sure that the S5 Box module is published to all pages, it can be published to any template position. Also make sure that the module opening in the box is published to the page the link is on.
Indirizzo dello Studio:
Centro "Le Querciole"
Via Di Cisanello 1a San Giuliano Terme (PI)
Orario segreteria:
Lunedì- Venerdì 08.00-19.30
Sabato 8.30-12.00

Info & Copyright

Le immagini e i testi raccolti nel presente sito hanno solo lo scopo di divulgare la conoscenza e la sensibilizzazione per la Dermatologia e la Medicina estetica. I diritti su tutte le immagini e i testi, la loro traduzione, la loro memorizzazione elettronica, la riproduzione e l'adattamento, totale o parziale con qualsiasi mezzo sono riservati per tutti i paesi.

Per utilizzare le immagini ed i testi è necessario fare richiesta scritta al Dott. Giovanni Menchini che ne è autore e/o proprietario. L'utilizzo delle immagini e dei testi, senza il permesso sarà perseguito ai sensi della legge vigente.